Portable CarPlay Screen Glare and Night Visibility
Practical fixes for a washed-out portable CarPlay display in bright sun and a blinding one after dark.

Key takeaways
- Most glare comes from mount angle, not the screen itself, so tilt it away from the windshield first.
- A quality matte anti-glare film costs $8 to $15 and kills reflections without much sharpness loss.
- Auto-brightness and a dark map theme stop the screen from blinding you on night drives.
- Cheap panels under 400 nits struggle in direct sun no matter what you do to them.
- Dashboard color and windshield tint change how bad reflections look before you buy anything.
You pull out of the driveway at 8 a.m. with the sun low behind you, glance down at your new portable CarPlay screen, and see your own face staring back instead of the map. Then that night you get in the car and the same screen is so bright it feels like someone flashed a phone light in your eyes at a red light.
Sound familiar? Glare and brightness are the two complaints I hear most from people who added a portable screen to their dash, and both are fixable. Neither one usually means you bought a bad unit.
I spent years mounting displays in cars where the customer swore the screen was defective. Nine times out of ten it was the angle, the settings, or a $10 film they never tried. Let me walk you through what actually works.
Why your portable screen washes out in the sun
Glare is really two different problems that get lumped together. One is reflection, where light bounces off the glossy front of the screen and throws an image of the sky or your shirt back at you. The other is brightness, where the panel just cannot push out enough light to compete with the sun flooding through the windshield.
Portable units sit up on the dash near the glass, which is the worst possible spot for both. A factory head unit is recessed inside a hood built into the dashboard. Your stick-on screen has no such shade, so it catches everything.
Panel brightness is measured in nits. A phone like a recent iPhone hits 1000 nits or more outdoors. Many budget portable CarPlay screens land around 300 to 400 nits, and the cheap ones dip lower. That gap is why the same map looks crisp on your phone but ghostly on the dash.
Good to know
If you can read your phone fine in the same sunlight where the portable screen disappears, brightness is your bottleneck, not reflection. No film or angle trick fully fixes a dim panel.
Fix the mount angle before you buy anything
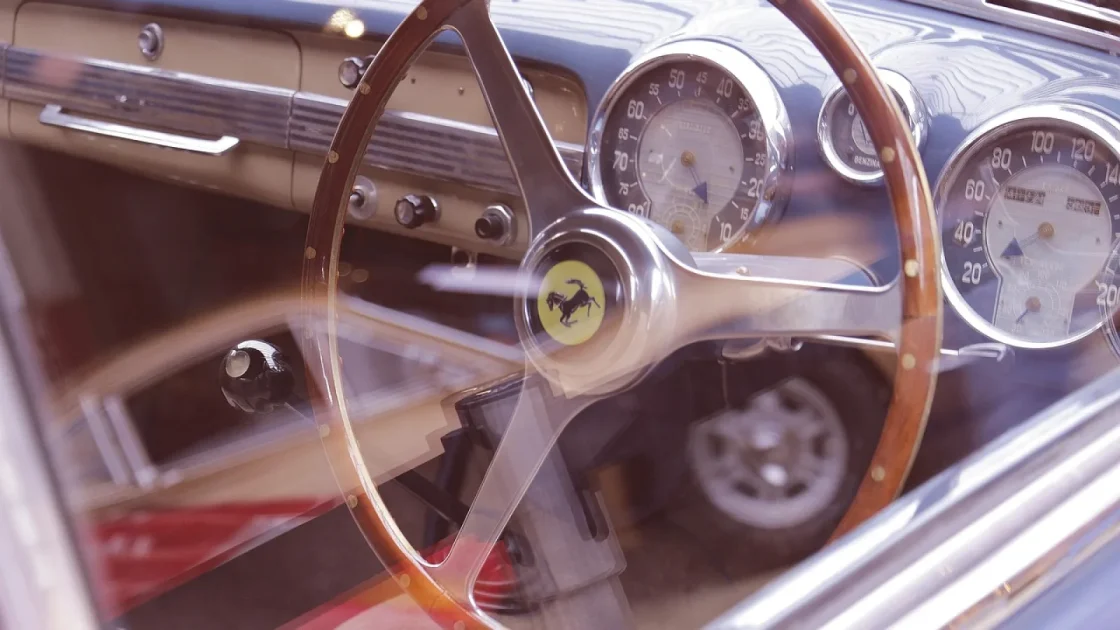
Start here because it is free. The single biggest source of glare is the screen facing up toward the windshield, which turns the whole sky into a light source pointed right at the glossy panel.
Tilt the top of the screen slightly toward you and down. You want the face roughly perpendicular to your line of sight, not laid back like a sunroof. On a suction mount this takes ten seconds to adjust.
Small shifts matter more than you would think. Moving the screen two inches lower on the dash, or angling it five degrees, can drop a reflection from blinding to barely noticeable.
Pro tip
Do your angle test parked in the exact conditions that bother you. Point the car east in the morning if that is your commute. Adjusting the mount at noon in a shaded garage tells you nothing about the 8 a.m. glare.
One common mistake: people mount the screen dead center high on the dash for the best view, then wonder why it glares. That high center spot catches the most sky. Lower and slightly off to the side is often calmer.
Matte films and hoods that actually help
Once the angle is dialed in, a matte anti-glare film is the cheapest real upgrade you can make. These are thin adhesive sheets, usually $8 to $15, that scatter reflected light instead of mirroring it back sharp.
The trade-off is a slight softening of the image. Text gets a hair less crisp and colors look a touch muted. For a dash screen you glance at, that is a fair swap for killing reflections.
A visor or hood is the other option. Some portable screens ship with a little rubber shade that clips around the top and sides. If yours did not, you can buy universal stick-on hoods for around $10, or honestly cut one from black craft foam.
| Fix | Rough cost | Helps with | Downside |
|---|---|---|---|
| Angle adjustment | Free | Reflection | None |
| Matte anti-glare film | $8 to $15 | Reflection | Slightly softer image |
| Clip-on hood or visor | $0 to $12 | Direct sun | Bulkier look |
| Higher-nit screen | $40 to $120 more | Brightness | Costs real money |
When the panel is just too dim
Sometimes you do everything right and the screen still fades in direct sun. That means the panel itself cannot keep up, and no accessory will save it.
Check the brightness rating before you buy if you can find it. Anything advertised at 500 nits or higher will hold up reasonably in daylight. Units that do not list a nit figure at all are usually the dim ones, because a good number is a selling point they would brag about.
IPS panels generally beat cheaper TN screens for viewing angle and sun readability. If a listing does not say, that silence again tells you something.
The screen you can barely read at noon is worse than no screen, because you will keep glancing down and squinting instead of watching the road.
If glare in daylight is your main use and your current screen just cannot cut it, that is one of the few cases where I would tell someone to return it and step up a tier rather than fight it with films.
Taming the night-time brightness that blinds you
Night is the opposite battle. Now the screen is a lamp in a dark cabin, and full brightness ruins your night vision every time you glance at it.
The first setting to find is auto-brightness. Most portable CarPlay screens have a light sensor and a setting to dim automatically. If yours has it, turn it on and it solves most of the problem on its own.
If there is no sensor, you set brightness manually. Drop it to 20 or 30 percent for night driving. It will look painfully dim in the store and perfect on a dark road.
Watch out
A screen stuck at daytime brightness at night is a genuine safety issue. Your pupils are wide open in the dark, and a bright panel wrecks your ability to see pedestrians and unlit hazards for several seconds after each glance.
Use a dark map theme
Both Apple and Google switch their maps to a dark theme after sunset. On CarPlay this usually follows your phone appearance setting. Set your phone to a dark or automatic appearance and the map turns mostly black at night, which cuts glare hugely compared to a bright white map. Apple explains the display basics on the official CarPlay page.
A black map with thin bright roads throws far less light into the cabin than a white one. Same brightness setting, much easier on your eyes.
A quick checklist before you give up on a screen
Before you write off a portable display as unusable, run through these. Most people fixing glare never get past the first three.
- Tilt the screen face toward you, not up at the windshield
- Move the mount lower and slightly off center
- Test in the real sun and time of day that bothers you
- Add a matte anti-glare film for under $15
- Clip on a hood or visor for direct sun
- Turn on auto-brightness, or drop night brightness to 20 to 30 percent
- Set your phone appearance to dark so the map goes black at night
Quick note
Windshield tint and dash color play a part too. A light gray or tan dashboard reflects up into the screen far more than a black one. A dark dash mat over a pale dashboard is a cheap trick that cuts reflections a surprising amount.
Your first move tonight
Do not spend a dime yet. Park the car facing the sun that gives you trouble, sit in the driver seat, and adjust the mount angle until the reflection drops. Then check that auto-brightness is on, or set a low manual level, and switch your phone to a dark appearance for the map.
That combination costs nothing and fixes the majority of glare and night-vision complaints I have seen. If daylight readability is still poor after that, then you know the panel is the limit, and a film or a brighter screen is the next step. Fix the free stuff first, and most people never need to buy anything at all.
Frequently asked questions
No, a quality matte film is thin enough that touch works normally. Very cheap or thick films can occasionally feel slightly less responsive, but the difference is minor. Apply it dust-free and it should not affect swipes or taps at all.
That is a brightness limit, not a defect. Budget panels around 300 nits simply cannot compete with direct sunlight, while your phone pushes past 1000 nits. Angle changes and matte film help a little, but a dim panel will always struggle in bright sun.
Yes. Turn on the screen's auto-brightness if it has a light sensor, or manually drop brightness to around 20 to 30 percent. Then set your phone to a dark appearance so the map goes mostly black after sunset, which cuts the light thrown into the cabin.
They target different things. A hood blocks direct sun hitting the screen from above, while a matte film scatters reflections from any direction. For most dashes the film does more, but combining both gives the best result in harsh sun.
It does. A light tan or gray dash reflects upward onto the glossy screen and adds a milky haze. A dark dash, or a black dash mat laid over a pale one, reflects far less and noticeably sharpens the image, and it costs almost nothing to try.
Keep reading
Related guides
Portable CarPlay Screens: The Complete Guide
Everything you need to pick, power, mount and actually enjoy an add-on CarPlay display in a car that never shipped with one.
Read guide
Powering a Portable CarPlay Screen: Wiring Options
Two honest ways to feed power to a portable CarPlay display, from the quick lighter plug to a clean hardwired job.
Read guide
Adding a Portable CarPlay Screen to an Older Car
A no-cutting, no-wiring way to get CarPlay in a car built before touchscreens were a thing, set up in an afternoon.
Read guide