Portable CarPlay Screens: The Complete Guide
Everything you need to pick, power, mount and actually enjoy an add-on CarPlay display in a car that never shipped with one.

Key takeaways
- A portable CarPlay screen adds wireless CarPlay to nearly any car for $80 to $200 without touching the factory radio.
- Power and audio are the two decisions that make or break the setup, so plan both before you buy.
- A 7-inch screen suits most dashes; bigger looks great but blocks vents and sightlines.
- Mounting choice and glare control matter as much as the screen itself for daily use.
You are sitting in a 2012 sedan with a radio that plays CDs and reads your phone over a crackly aux cable. Your buddy just got a new car with a bright dash screen that mirrors his phone, shows maps, and reads texts out loud. You want that. You do not want to spend $600 and a weekend gutting your dashboard to get it.
That gap is exactly what an add-on CarPlay display fills. It is a small touchscreen that sits on your dash or windshield, connects to your phone wirelessly, and gives you Apple CarPlay or Android Auto without replacing a single factory part.
I have installed these in everything from an old pickup to a lease return, and the results range from genuinely great to frustrating, depending on choices you make before you ever mount it. This portable carplay screen guide walks through all of those choices in the order they actually matter.
What these little screens really are
Think of a portable CarPlay screen as a phone-sized tablet that only does one job. It runs a stripped-down system whose entire purpose is to show your phone’s CarPlay or Android Auto interface on a bigger, better-placed display.
Most units are 7 to 10 inches. They pair over Bluetooth for the handshake, then stream the video over a private Wi-Fi link the screen creates itself. Your phone stays in your pocket the whole drive.
The screen itself has no maps app, no Spotify, no logins of its own. Everything you see comes from your phone, which means your data, subscriptions, and voice assistant all come along for free. The short version: it is a mirror, not a computer.
Good to know
Because the screen is just mirroring your phone, updates to Maps, Spotify or Waze happen on the phone. The screen almost never needs its own software update to get new features.
Portable screen or full head unit
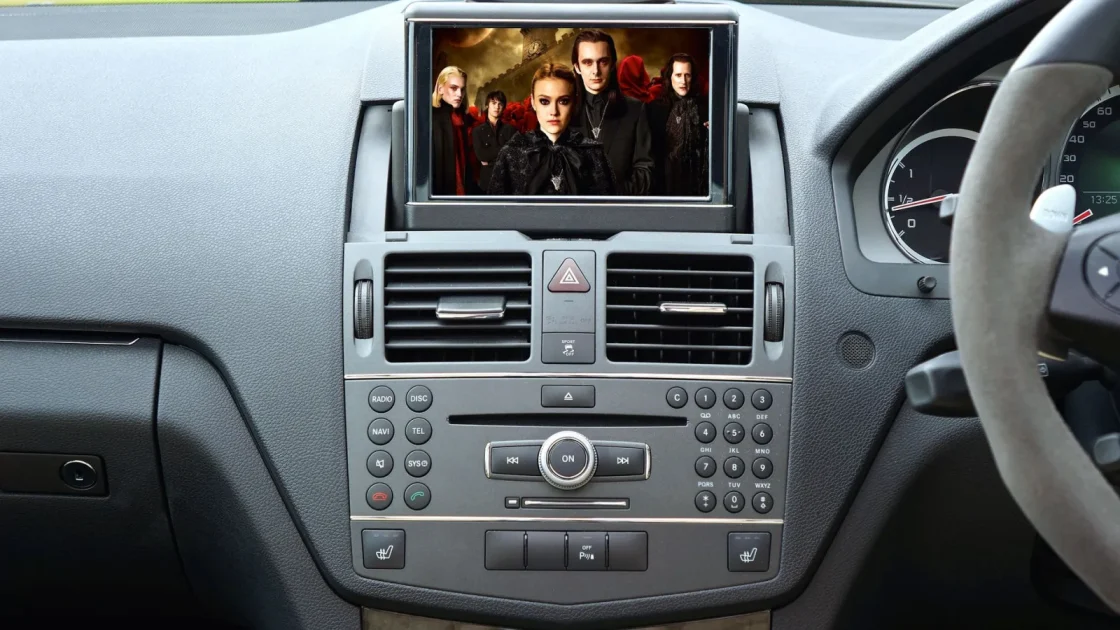
The honest question a lot of people should ask first: should you buy one of these at all, or bite the bullet and install an aftermarket head unit in the dash?
A head unit replaces your factory radio. It looks factory-clean, drives your speakers directly, and hides the wiring. It also costs more, often needs a dash kit and harness specific to your car, and usually means a shop visit or a few tense hours with trim tools.
A portable screen sits on top of the dash and stays fully reversible. You can move it to another car in ten minutes. Here is how the two stack up.
| Factor | Portable screen | Aftermarket head unit |
|---|---|---|
| Typical price | $80 to $200 | $250 to $700 installed |
| Install time | 15 to 45 minutes | 2 to 5 hours or a shop |
| Reversible | Yes, fully | No, permanent-ish |
| Drives factory speakers | Only through workarounds | Yes, directly |
| Looks factory | No, it sits on the dash | Yes |
If you lease, own an older car you plan to sell, or just hate cutting into trim, portable wins. If you want the cleanest possible look and better sound wiring, the head unit earns its price.
Getting power to the thing
This is where more people trip up than anywhere else. A portable CarPlay screen needs steady 12-volt power, and how you deliver it decides whether the setup feels tidy or like a mess of cables.
You have three realistic routes.
The cigarette lighter plug is the easiest. Plug it in, done. The downside is a visible cable running across your dash and a screen that turns on and off with the accessory power. Many cars kill that socket when the engine is off, which is usually fine.
A hardwire kit taps into a fuse behind your dash for a hidden, permanent feed. This looks factory-clean and lets you set the screen to sleep with the car. It costs $15 to $30 more and takes an extra 20 minutes.
A USB feed from a spare port works only if your port pushes enough amps, and many older cars do not. Test before you commit to it.
Watch out
If you hardwire, tap a fuse that only has power when the key is on (a switched or accessory circuit). Tap a constant-power fuse and your screen can quietly drain the battery over a weekend.
Picking the right screen size
Bigger is not automatically better here. The screen sits in your line of sight, so size is a real trade-off, not just a spec to max out.
A 7-inch screen is the sweet spot for most dashes. It shows maps clearly, does not block your air vents, and keeps your view of the road open. A 9 or 10-inch panel looks impressive and makes text easy, but on a small car it can crowd the windshield or cover a climate vent.
Before you buy, sit in the driver’s seat and hold up a ruler or a phone at the exact spot you plan to mount. Picture that rectangle blocking part of the glass. That five-second test has saved me from two returns.
- Screen size fits the dash without blocking vents or mirrors
- Wireless CarPlay and Android Auto both supported
- Comes with a hardwire option, not just a lighter plug
- Has a real speaker or Bluetooth and FM audio output
- Mount style matches your dash shape (curved or flat)
- Brightness rated for daytime use, ideally 700 nits or higher
Where and how to mount it
A good mount does two jobs: it holds the screen dead still over bumps, and it puts the display where your eyes drop naturally. A wobbly screen is worse than no screen.
Most units come with an adhesive dash base or a suction mount. Adhesive pads hold better long-term but commit you to one spot. Suction cups let you reposition but can pop loose on a hot day.
Aim to mount low and central, near the top of the center stack, so glancing at it barely moves your eyes off the road. Mounting it high on the windshield is legal in some states and not others, so check your local rules before you stick anything.
Pro tip
Clean the mounting surface with rubbing alcohol and let it dry fully before you press an adhesive base down. Skip this and the pad lifts in the first heat wave. I learned that one the hard way on a black dash in July.
Making it actually sound good
Here is the catch nobody mentions in the product photos. The screen shows your maps and music beautifully, but the audio has to reach your car speakers somehow, and the screen does not wire into them directly.
You have three ways out. A built-in speaker on the screen is fine for voice prompts but weak for music. Bluetooth back to your car stereo sounds best, though it can add a slight lag. An FM transmitter broadcasts to an empty radio frequency and works in any car with a radio, but sound quality is only okay.
The screen is the easy part. Getting clean sound to your existing speakers is what separates a setup you love from one you tolerate.
For most older cars, I lean toward Bluetooth if the stereo supports it, and FM only when there is no other option.
Older cars, dashcams, and glare
These screens shine brightest in older cars, the ones that predate any smart features. If your car has a working 12-volt socket and a radio, you can add wireless CarPlay to a vehicle from 2005. That alone is why many people buy them.
Some models bundle a built-in dashcam, recording the road while the screen runs CarPlay. It is a tidy two-in-one, though the camera quality rarely matches a dedicated dashcam. Nice bonus, not a reason to buy on its own.
Glare is the last real hurdle. A cheap glossy screen washes out in direct sun and blinds you at night if it stays too bright. Look for auto-brightness and a matte or anti-glare coating. Apple’s own overview of CarPlay covers what the interface can do, and a screen with good brightness control lets you actually use all of it day or night.
Quick note
If night driving matters to you, set the screen to dim automatically or switch to CarPlay’s dark map at dusk. A screen stuck at full brightness at night is genuinely distracting.
Your next step
Start with the two decisions that shape everything else: how you will power it and how you will hear it. Sort those, and the rest (size, mount, glare) falls into place quickly.
My suggestion for a first build: a 7-inch screen with wireless CarPlay, a hardwire kit tapped to a switched fuse, and Bluetooth audio if your stereo has it. That combo runs around $120 to $160 and gives you a clean, quiet, reliable setup.
Pick your screen this week, grab a hardwire kit at the same time, and set aside a calm 45 minutes in the driveway. You will pull out of it with the same modern dash your buddy has, minus the new-car payment.
Frequently asked questions
Yes. The screen has no cellular connection of its own and never needs a data plan. It pulls maps, music and everything else from your phone's data, so as long as your phone has service, the screen works fine.
It should not, if it is powered from a socket or fuse that only has power when the key is on. Problems happen when someone hardwires the screen to a constant-power circuit, which lets it sip power overnight. Use a switched or accessory feed and you are safe.
You can, but it rarely makes sense. If your car already has wireless CarPlay, an add-on screen is redundant. These shine in older cars or base trims with no CarPlay support at all.
It depends on your state or country. Some places allow a small screen in a specific corner of the windshield, others ban anything on the glass. Mounting low on the dash avoids the issue almost everywhere, so I default to that.
A lighter-plug version is genuinely plug and play, no tools needed. A hidden hardwire install is a step up but still beginner-friendly, usually needing only a fuse tap and 20 to 30 minutes. Neither requires cutting into your dashboard.
Keep reading
Related guides

7 Portable CarPlay Screen Buying Mistakes to Avoid
The seven traps that send most portable CarPlay screens back to the box, and how to sidestep every one before you order.
Read guide
Portable Screen vs Aftermarket Head Unit
Two ways to add CarPlay to an older car, and how to tell which one actually fits your dash, your budget and your patience.
Read guide
Getting Sound From a Portable CarPlay Screen
Your portable screen shows the map fine, but the audio has to go somewhere. Here is how FM, AUX and Bluetooth each get you there.
Read guide