Keeping Steering Wheel Controls With a New Head Unit
Your volume and track buttons on the wheel can survive a stereo swap. Here is how the adapter works and what to buy.

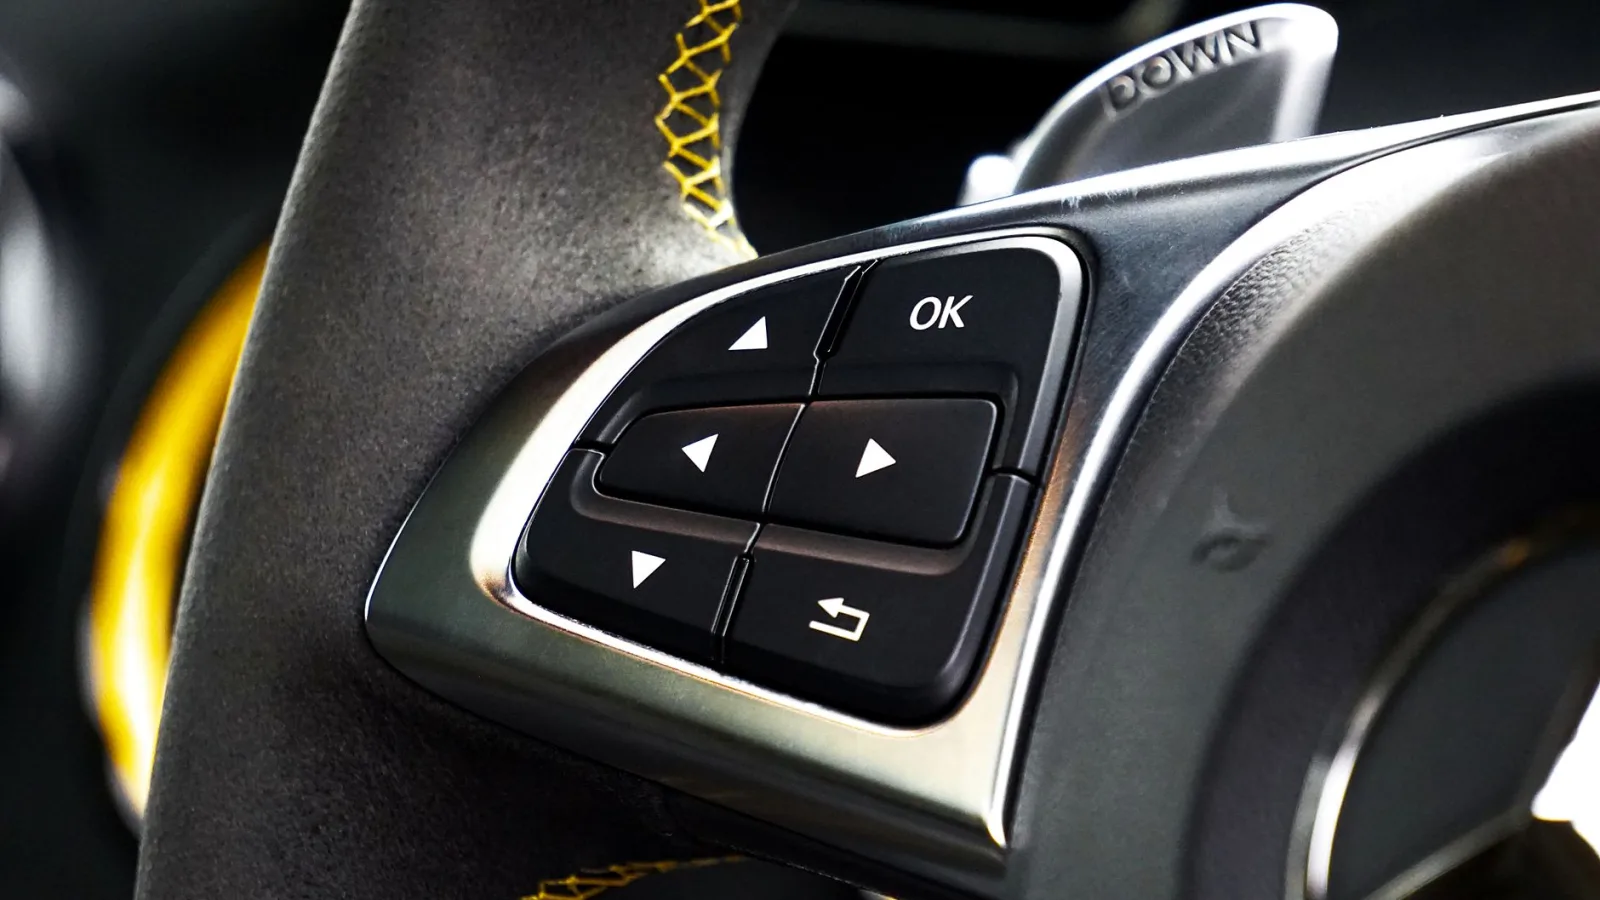
Key takeaways
- An SWC adapter reads your factory wheel buttons and translates them for the new stereo.
- Most cars use one wire or two resistive wires that plug into the adapter or the harness.
- Programming is a short learn routine: press a button on the wheel, press the matching key.
- Budget $10 to $60 for the adapter, plus a car-specific harness if your stereo lacks the input.
You just dropped $400 on a new touchscreen stereo, and the picture looks incredible. Then you hop on the highway, reach your thumb up to bump the volume the way you have for years, and nothing happens. The buttons on your steering wheel are dead.
That sinking feeling is common, and it catches a lot of first-time installers off guard. The good news is those wheel buttons almost never have to die. With a small adapter and about twenty minutes of patience, your volume, track skip, and phone answer keys can work again, often better than they did before.
Let me walk you through exactly how the wheel buttons talk to a stereo, what part you need, and how to teach the new radio which button does what.
Why the buttons stop working in the first place
Your factory steering wheel controls are not magic. Each button on the wheel connects to a tiny resistor. When you press volume up, the car sends one resistance value down a wire. Press track forward, it sends a different value. The original radio was built to read those exact values and respond.
When you pull that radio out, the language stops matching. Your aftermarket unit from Pioneer, Kenwood, or Sony has no idea what those resistance values mean. It is like handing someone a note in a language they never learned.
That is the whole problem, and it is also why the fix is clean. You need a translator between the wheel and the new stereo.
Good to know
Some newer cars route wheel controls over a data bus (CAN) instead of simple resistor wires. Those need a data interface, not the basic resistive adapter. Check which type your car uses before you buy anything.
The two kinds of adapters you will run into

Nearly every solution falls into one of two camps. Knowing which one your car needs saves you a return trip to the parts counter.
The first is a simple resistive adapter. This is a small box with a few wires that reads the resistor signals directly. Brands like PAC and Axxess make them, and they run cheap, usually $10 to $25. These work on a huge number of older Hondas, Toyotas, Fords, and Chevys where the buttons are wired the old-fashioned way.
The second is a data bus interface. On cars from roughly 2010 onward, especially European makes like Volkswagen, Audi, and BMW, the wheel buttons ride on the same network that runs your door locks and gauges. You need an interface that speaks that network. These cost more, often $40 to $90, and they frequently double as your antenna and chime retention module too.
| Adapter type | Best for | Rough price | Signal it reads |
|---|---|---|---|
| Resistive SWC adapter | Older domestic and Asian cars | $10 to $25 | Simple resistor wires |
| Data bus interface | Newer and European cars | $40 to $90 | CAN or LIN data network |
| Built-in SWC input | Stereos with a 3.5mm SWC jack | Included | Resistor wires, no box |
Check your stereo before you spend a dime
Here is a step most people skip. Flip your new head unit around and look at the back panel or the wiring diagram in the box.
Many Pioneer, Kenwood, and JVC units already have a steering wheel control input built in. It usually shows up as a small 3.5mm jack labeled SWC, or as a pair of bare wires in the harness marked SW1 and SW2 (sometimes brown and brown/black). If your stereo has that, you may not need a separate box at all. You just wire the car’s two SWC wires straight to the stereo and program it in the menu.
If your unit has no such input, that is when the little adapter box earns its keep. It takes the car signal and outputs whatever your stereo expects.
Pro tip
A car-specific wiring harness (a plug-and-play adapter like a Metra or iDatalink harness) often breaks out the SWC wires for you with clear labels. Buying the right harness for your exact make and year removes most of the guesswork. See how modern head units integrate features if you want the background.
What you need before you start
Gather your parts and tools first so you are not stopping halfway with the dash apart. Here is my short list.
- The SWC adapter or data interface matched to your exact car and year
- A car-specific wiring harness if your stereo does not include SWC wires
- A test light or multimeter to confirm you found the right wires
- Crimp connectors or a soldering iron and heat shrink
- Electrical tape and a few zip ties to keep things tidy
- Your stereo’s manual open to the SWC programming page
A common mistake I see: people twist the SWC wires together with a quick connector and call it done. Vibration works those loose within a month. Solder or crimp them properly the first time and you will never think about it again.
Wiring the adapter in
With the stereo already out and the dash open, the adapter itself is simple. Most resistive units have three key wires: two that read the wheel (often a signal wire and a ground) and one output that goes to your stereo’s SWC input.
Find the car’s two steering wheel control wires in the factory harness. Your car-specific harness or a wiring chart will name them. Connect them to the adapter’s input side. Then run the adapter’s output wire to the SWC jack or SW wire on the new stereo.
Give the adapter a solid ground and, on data interfaces, a switched power feed and constant power. The instructions with the box spell out each wire. Do not guess on power wires, since a wrong feed can drain your battery overnight.
Watch out
Always disconnect the negative battery terminal before you start splicing. A slipped wire near the airbag clockspring is not worth the risk, and you avoid blowing a fuse while you work.
Teaching the stereo which button is which
This is the part that feels like magic the first time. Once wired, you tell the stereo what each wheel button should do. There are two common methods.
Programming through the stereo menu
Many head units have a built-in SWC learning mode. You open the settings, pick Steering Wheel Control, and the screen shows a list: Volume Up, Volume Down, Seek, Mute, and so on. You highlight one, press and hold the matching button on your wheel, and the stereo saves it. Repeat down the list. The whole thing takes about five minutes.
Programming on the adapter box
Other adapters have their own learn routine. Usually you hold a button on the box until an LED blinks, press a wheel button, then press the corresponding key on the stereo face. The LED confirms each pair. PAC and Axxess both use a version of this, and their printed guide lists the exact sequence.
The nicest surprise: you can often reassign buttons. That seek button you never used can become a voice command trigger for your phone.
When the buttons still will not respond
If nothing works after programming, do not panic. Ninety percent of failures trace back to three things.
First, wrong wires. Double-check you tapped the true SWC wires and not the illumination or mute lines. A multimeter set to resistance will show the value change when you press a wheel button, which confirms you have the right pair.
Second, a bad ground. A loose or painted-over ground point makes the readings drift, so buttons register wrong or randomly. Sand the metal bright and bolt it down.
Third, firmware. Data interfaces sometimes ship needing an update through a USB or the maker’s app before they recognize your car. That step is easy to miss and fixes a lot of no-response cases.
Quick note
If you added CarPlay with your new stereo, working wheel buttons matter even more. Voice and track control from the wheel keeps your eyes on the road. Apple explains the safety idea well on the official CarPlay page.
Your next move
Before you order anything, do one thing today: figure out whether your car uses resistor wires or a data bus. A quick search of your make, year, and the phrase steering wheel control adapter will tell you within minutes, and it points you to the exact part number.
From there, match the adapter or harness to your stereo, wire it clean, and run the short learn routine. Twenty minutes of care buys you years of never reaching for a knob that isn’t there. Keep the printed instructions in your glove box too.
Frequently asked questions
Not always. If your new stereo has a built-in SWC input jack or SW wires, you can wire the car's control wires straight in and program them in the menu. You only need a separate box when the stereo has no such input or your car uses a data bus.
A simple resistive adapter runs about $10 to $25. A data bus interface for a newer or European car costs more, usually $40 to $90, though it often retains other features like the antenna and chimes at the same time.
Often yes. During programming you choose which stereo function each wheel button triggers, so a button you rarely use can become a voice command or mute key. It depends on the adapter and stereo, but most modern setups allow it.
Intermittent behavior almost always points to a weak ground or a loose splice. Sand the ground point to bare metal and re-crimp or solder the SWC connections. Vibration loosens quick-connect taps within weeks, so a solid joint fixes most flaky cases.
Yes. Once the wheel buttons are mapped to the stereo, they control whatever is playing, including CarPlay and Android Auto audio, track skips, and phone calls. Volume and track functions carry over cleanly since the stereo handles them regardless of the source.
Keep reading
Related guides

6 Head Unit Buying Mistakes That Cost You Money
The six errors that turn a fun stereo upgrade into a pile of returns, extra parts, and a dashboard that looks half finished.
Read guide
Aftermarket Head Unit vs Portable Screen: Compared
A hands-on look at the built-in radio swap versus the plug-and-play dash screen, so you pick the one that actually fits your car and budget.
Read guide
Should You Upgrade Speakers With a New Head Unit?
You just dropped $300 on a fresh CarPlay stereo. Here is how to know if your factory speakers are dragging it down.
Read guide