Understanding the Wiring Harness for a New Stereo
What the tangle of wires behind your radio actually does, and why a plug-in adapter saves you from cutting anything.


Key takeaways
- The wiring harness is the bundle of wires that carries power, ground, speaker signals and accessory triggers between your car and the stereo.
- A plug-and-play adapter lets you connect a new head unit without cutting your car's factory wiring.
- Wire colors follow rough conventions, but always match by function, not color alone.
- Getting the constant power and switched power wires backwards is the most common rookie mistake.
You pull the old radio out, and there it is: a fat bundle of colored wires hanging out of the dash like spaghetti. Reds, yellows, a couple of blacks, some striped ones you have never seen before. If your stomach drops a little, you are not alone.
Here is the good news. That bundle is not random, and you almost never have to cut a single strand of it. Once you understand what each wire is doing and why an adapter exists, the whole job goes from scary to boring in about ten minutes.
Let me walk you through what is actually back there.
What the wiring harness actually is
The head unit wiring harness is the connector and wire bundle that ties your stereo to the rest of the car. On one side it plugs into the radio. On the other side it reaches out to your battery, your ground, your four (or more) speakers, and a handful of small signal wires that tell the radio when to turn on and how bright to make its display.
Every wire in there has one job. Power in, sound out, and a few little handshakes between the car and the stereo. That is the whole story.
Factory harnesses use a keyed plastic plug so you cannot insert it upside down. When you buy a new aftermarket radio, it comes with its own bare pigtail: loose wires, no plug that fits your car. That mismatch is exactly the problem an adapter solves, and I will get to that.
Good to know
The harness carries low-voltage 12V signals, not household current. It will not shock you. The real risk is a short, so disconnect the negative battery terminal before you start poking around.
The wires you need to know by name
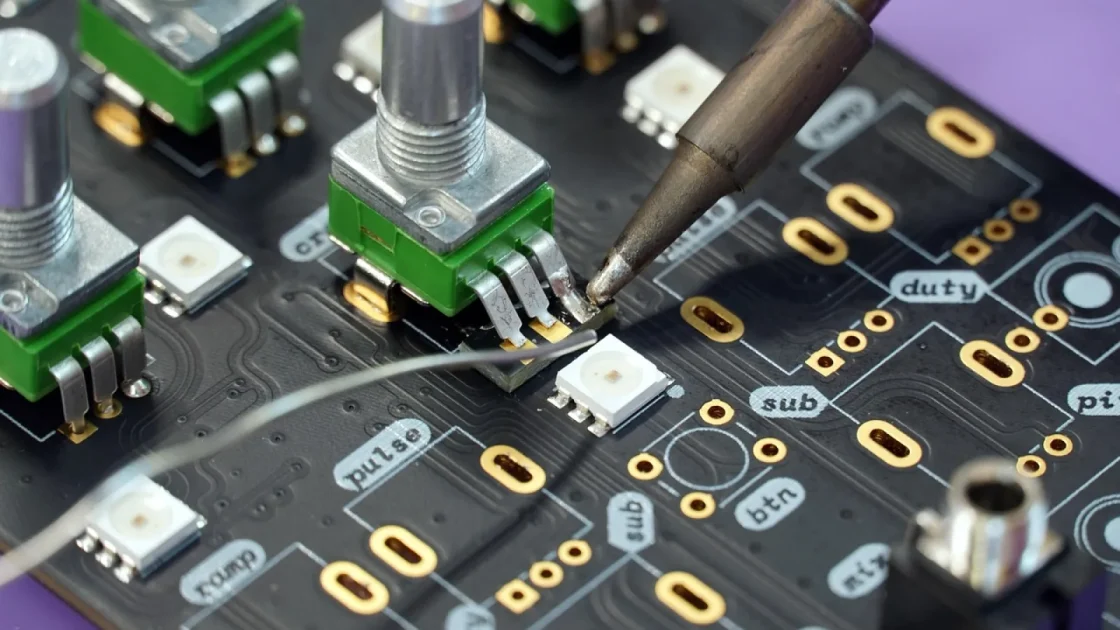
Most harnesses break down into three groups: power wires, speaker wires, and signal wires. Learn these and you can read almost any stereo connector.
Power and ground
Three wires do the heavy lifting here. The constant 12V wire (usually yellow) stays live all the time, even with the key out. It keeps your presets and clock alive. The switched 12V wire (usually red) only gets power when you turn the key to accessory, so the radio shuts off when you leave. The ground wire (usually black) completes the circuit back to the car’s chassis.
Mix up yellow and red and you get a radio that either drains your battery overnight or forgets every station the moment you shut the car off. I have done it. It is a five-minute fix once you know, but it will drive you nuts until you spot it.
Speaker wires
You get eight speaker wires, two per speaker: front left, front right, rear left, rear right. Each pair has a positive and a negative. They usually come in matching colors with one solid and one striped to mark polarity.
Cross the positive and negative on one speaker and it will still make sound, but that speaker will be out of phase with the others. Bass gets thin and weak. Easy to miss, annoying to chase down later.
The little signal wires
These are the extras. The illumination wire dims the display with your headlights. The remote turn-on (often blue with a white stripe) tells an amplifier to power up. The reverse trigger (green) tells the radio when you shift into reverse so a backup camera kicks in. Not every car uses all of them.
| Wire function | Common color | What it does |
|---|---|---|
| Constant power | Yellow | Always-on 12V, keeps memory alive |
| Switched power | Red | 12V only with key in accessory |
| Ground | Black | Completes the circuit to chassis |
| Illumination | Orange | Dims display with headlights |
| Amp remote | Blue/white | Turns on an external amplifier |
| Reverse trigger | Green | Signals reverse gear for camera |
Watch out
Wire colors are a convention, not a law. Different brands and different cars break the pattern all the time. Match wires by their labeled function, never by color alone, and check your radio’s manual chart.
Why the plug never just fits
Your car came with one specific radio, so the factory only built one plug shape into the dash. A Honda plug looks nothing like a Toyota plug, which looks nothing like a Ford plug. There is no universal standard back there.
Aftermarket radios cannot ship with a hundred different plugs, so they ship with none. You get that bare pigtail of loose wires instead, and it is on you to join those wires to your car’s harness.
You have two ways to do that. The clean way, and the way that will haunt whoever owns the car after you.
The adapter, and why I always use one
A wiring harness adapter is a short cable with two ends. One end is a plug shaped exactly like your car’s factory connector. The other end has loose wires, color-coded to match your new radio. You match wire to wire once, join them, and then the whole thing plugs straight into your dash.
The magic part is that you never cut your car’s original wiring. If you sell the car or want the old radio back, you unplug the adapter and everything is factory again. No evidence you were ever in there.
The first head unit I ever installed, I cut the factory harness because I did not know adapters existed. It worked. It also made the next job three times harder. Never again.
Adapters run about $10 to $25 for a basic model. Fancier ones with built-in modules to keep your steering wheel controls or factory amp working cost $60 to $150. Compared to the headache of hacking up original wires, that is money well spent.
Pro tip
Buy the adapter for your exact year, make and model. A harness that fits a 2015 sedan may not fit the same car from 2018. Punch your details into any retailer’s fitment tool before you order.
Joining the wires: crimp, solder or twist
Once you have the adapter, you connect its loose wires to your radio’s pigtail. Three common methods, ranked from best to worst.
Soldering and heat-shrink is the gold standard. It is a permanent, low-resistance joint that will outlive the car. It takes a soldering iron and a bit of practice.
Crimp connectors are the practical middle ground. A good crimp with the right tool is solid, fast and beginner-friendly. This is what most people should use.
Twisting wires together and wrapping tape is the one to avoid. It works for a week, then vibration loosens it and you get crackle, cut-outs, or a dead speaker on a bumpy road.
- Disconnect the negative battery terminal first
- Match every wire by function, not just color
- Connect ground, then switched power, then constant power
- Double-check speaker polarity on all four pairs
- Test everything before you slide the radio back in
- Tuck and secure wires so nothing rattles behind the dash
Special cases worth knowing about
Some newer cars run the radio on a data network instead of simple power wires. On those, the factory amplifier, chimes, and warning tones all travel through the stereo. Yank a plain radio out and you can lose your seatbelt chime or your door speakers entirely.
For those cars you need an interface module, not just a passive adapter. It translates the car’s data signals so a standard aftermarket radio understands them. Brands like Metra, iDatalink and PAC make these. They cost more, but they keep features you would otherwise lose.
If your car has steering wheel buttons or a factory backup camera, say so when you shop for a harness. The right adapter or module keeps those alive. The wrong one leaves you with dead buttons and no easy fix. Apple’s own CarPlay support pages assume the head unit is already wired and talking to the car, so getting the harness right is what makes the smart features possible in the first place.
Quick note
If you see a green wire and a green-with-white-stripe wire, those are usually a rear speaker pair, not the reverse trigger. Read the manual. Guessing here is how people fry a speaker.
Your next move
Before you buy anything, pull your radio (or just search your car’s make, model and year) and figure out which harness and interface you actually need. That one bit of homework decides whether install day takes 30 minutes or turns into a weekend.
Order the correct adapter for your exact vehicle, grab a $15 crimp tool if you do not solder, and lay everything out on a table so you can match wires in good light. Do that, and the scary bundle of spaghetti becomes the easiest part of the whole job.
Frequently asked questions
No, and you should not. A plug-and-play harness adapter plugs into your car's factory connector and gives you loose wires to join to the new radio. Your original wiring stays untouched, so the swap is fully reversible.
Yellow is constant 12V power that stays live all the time to keep your presets and clock. Red is switched power that only turns on with the key. Swap them by mistake and the radio will either drain your battery or lose its memory every time you park.
Not reliably. Color conventions exist, but carmakers and radio brands break them often. Always confirm each wire by its labeled function using your radio's manual and the adapter's chart, then treat color as a hint rather than proof.
Newer vehicles route audio and features like chimes or the factory amp through a data network rather than simple wires. A passive adapter cannot translate that data, so you need a powered interface module to keep those functions working with an aftermarket radio.
A basic plug-and-play adapter runs about $10 to $25. If you need to keep steering wheel controls or a factory amplifier, expect $60 to $150 for an adapter with a built-in module. It is cheap insurance against damaging original wiring.
Keep reading
Related guides
Head Units With Wireless CarPlay: What to Look For
How to pick a stereo that runs CarPlay over the air without dropouts, laggy screens or a cable dangling from your dash.
Read guide
Dash Kits and Fascia Panels: Making a Stereo Fit
The trim pieces that turn a bare stereo hole into a clean, factory-looking install, and how to pick the right one.
Read guide
Aftermarket Head Units With CarPlay: Buying Guide
How to pick a CarPlay stereo that actually fits your older car, from screen size and wiring to the features that matter on the road.
Read guide